Follow Me On Social Media!

Homemade Marshmallows: Soft, Fluffy Joy in Every Bite
Introduction to Homemade Marshmallows
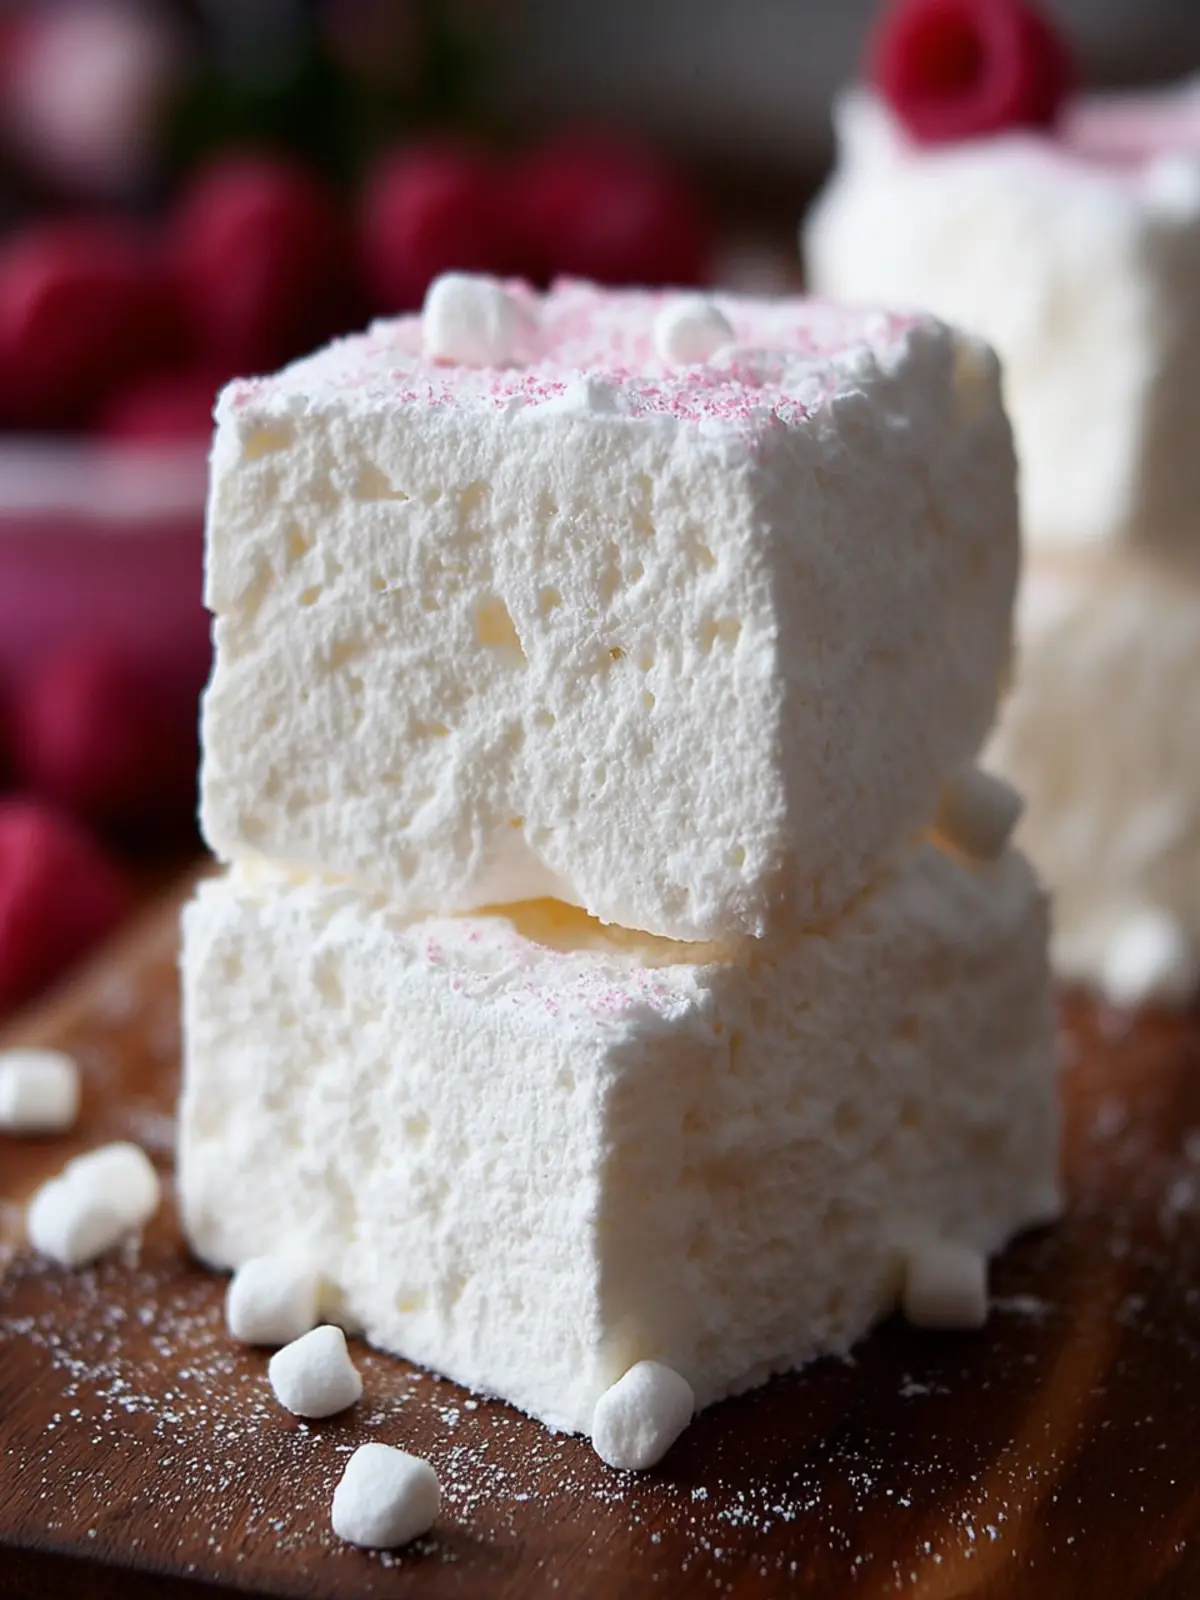
Imagine the bliss of sinking your teeth into a fluffy cloud of sweetness—this is exactly what homemade marshmallows offer. Unlike store-bought varieties, which often contain preservatives and artificial flavors, homemade marshmallows elevate your snacking experience. They are exquisite, melt-in-your-mouth treats that you can personalize to match your taste preferences.
The process of making marshmallows at home is both an art and a rewarding experience. While I was initially intimidated by the thought of candy-making, I was soon enchanted by the way a simple mixture of sugar, gelatin, and water transformed into something marvelously soft and airy. My first batch has become a cherished memory—poking holes in the fluffy concoction and coating them in powdered sugar to prevent sticking while sharing them with friends was delightfully fun.
So, what makes homemade marshmallows so special?
Unique Texture and Flavor
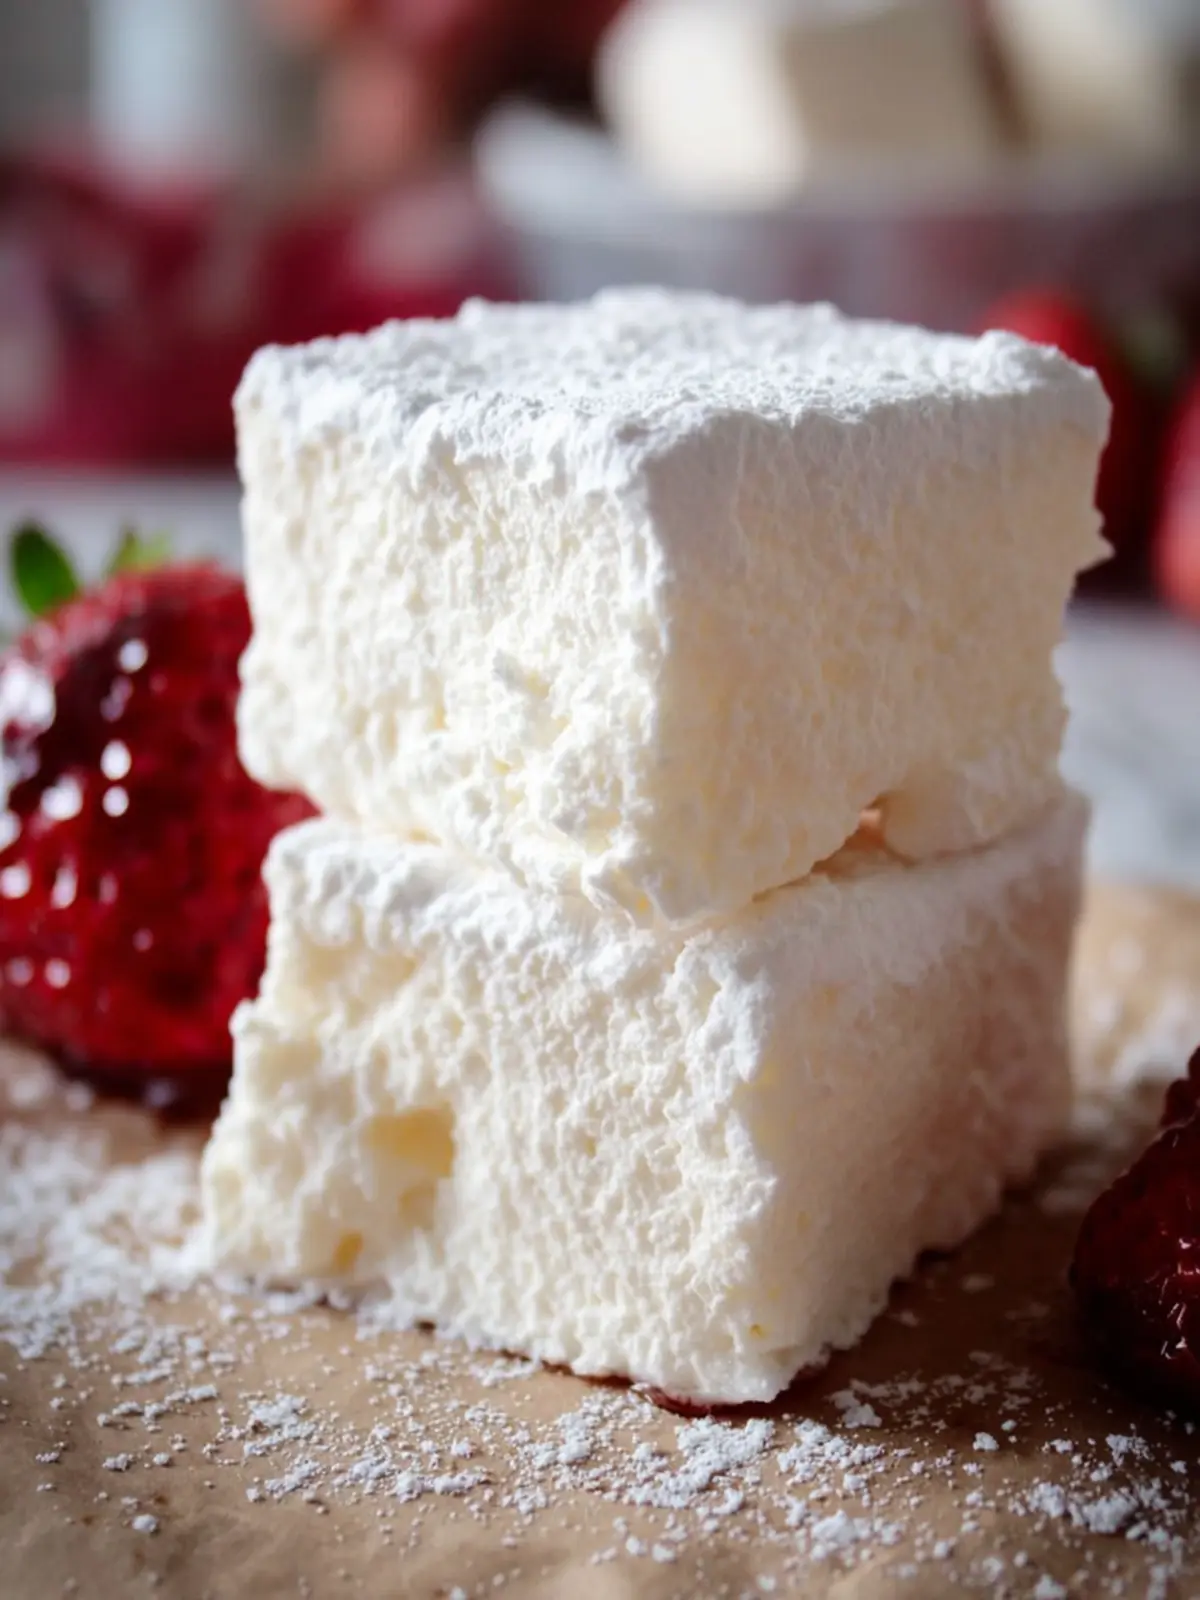
- Soft and Pillowy: They possess a texture that’s light and airy, far removed from the denser, gummy counterparts.
- Flavor Infused: Whether it’s vanilla, peppermint, or even coffee, the flavor possibilities are endless. Handmade versions let you control the sweetness and flavor intensity, leading to a rich taste experience tailored just for you.
No Artificial Ingredients
- Real Ingredients Only: With basic ingredients like sugar, water, and gelatin, you can enjoy a guilt-free indulgence without additional chemicals.
- Healthier Choices: You can even explore natural sweeteners or reduce sugar to meet your dietary goals, allowing for a customized treat.
Creative Flexibility
- Personalization: Feel free to experiment by adding your favorite extracts or rolling your marshmallows in different powders like cocoa or coconut.
- Perfect for Gifting: Your homemade marshmallows make a charming gift when packaged in a mason jar or wrapped in cellophane and tied with a ribbon.
The allure of homemade marshmallows lies not just in their delightful taste but in the process of crafting them from scratch—there’s a certain magic that comes from turning simple ingredients into sweet little marvels. Ready to dive into the world of marshmallow-making? Let’s get started!
Key Ingredients for Homemade Marshmallows
Marshmallows are like little clouds of happiness, transforming desserts into delightful experiences. To craft the perfect homemade marshmallows, selecting the right ingredients is essential for achieving that fluffy texture and sweet flavor we all love.
-
Gelatin: This is the backbone of your marshmallows. Choosing high-quality, unflavored gelatin helps achieve that classic chewy texture. It’s crucial to bloom the gelatin in cold water before mixing, allowing it to dissolve perfectly during cooking.
-
Granulated Sugar: A staple in any marshmallow recipe, sugar not only sweetens but also adds to the structure. You need to heat it with water and corn syrup to a precise temperature, ensuring the marshmallows hold their shape.
-
Corn Syrup: This ingredient prevents crystallization, resulting in a smooth consistency. It helps create that glossy finish that makes homemade marshmallows so irresistible.
-
Vanilla Extract: For flavor, a splash of pure vanilla extract adds warmth and depth, taking your homemade marshmallows to the next level. Don’t skimp on this; it makes a difference!
-
Powdered Sugar and Cornstarch: This mixture is essential for dusting the marshmallows. It prevents them from sticking together, ensuring they remain light and fluffy.
With these simple yet essential ingredients, you’re on your way to making delightful, homemade marshmallows that will impress friends and family alike!
Why You’ll Love This Recipe
Making homemade marshmallows is not just a culinary endeavor; it’s a delightful experience that revives childhood memories of roasting marshmallows over the campfire. Imagine biting into a fluffy, melt-in-your-mouth marshmallow that you’ve crafted yourself—there’s nothing quite like it!
-
Flavor and Customization: With this recipe, you can easily experiment with different flavors, such as vanilla, cocoa, or even peppermint. The options are nearly endless, allowing you to create marshmallows that are uniquely yours. Why stick with store-bought varieties when you can whip up a batch that suits your taste perfectly?
-
Simple Ingredients: The ingredients you need are straightforward and likely already in your pantry. Just a few pantry staples give you a treat that’s far superior to pre-packaged options.
-
Fun to Make: This recipe invites adventure in your kitchen. Watch as the mixture transforms into a fluffy concoction, and enjoy the simple joy of watching it set before slicing it into perfect squares.
Once you make your own homemade marshmallows, you’ll find they’re not just a treat; they elevate your desserts, impress guests, and offer a fun project to share with friends.
Variations on Homemade Marshmallows
Creating homemade marshmallows can open up a world of delightful possibilities. These fluffy treats are not just for s’mores or hot chocolate; they can be personalized to match your flavor preferences or the party theme! Let’s explore some fun variations that will elevate your marshmallow game.
Flavored Marshmallows
Why settle for plain when you can create a burst of flavor in every bite? Infusing your homemade marshmallows with distinct tastes can be as simple as adding natural extracts or ingredients. Consider experimenting with:
- Coconut: Incorporate coconut extract and shredded coconut for a tropical twist.
- Coffee: Mix instant coffee granules into the syrup for a mocha marshmallow that coffee lovers will adore.
- Citrus: Adding a touch of lemon or orange zest can create a refreshing, zesty marshmallow.
Chocolate-Dipped Marshmallows
If you want to indulge even more, try dipping your homemade marshmallows in chocolate. This easy step transforms your marshmallows into a decadent treat. Simply melt some chocolate (dark, milk, or white) and dip each marshmallow halfway, then let them set on parchment paper. For added flair, consider sprinkling them with crushed nuts or sprinkles while the chocolate is still wet.
Colorful Marshmallows for Parties
Make your gatherings extra special by crafting vibrant, colorful marshmallows. Use food coloring to tint the marshmallow mixture before whipping it, or layer different colors for a fun visual effect. This variation is not only delicious but also an eye-catching addition to any dessert table. They make fantastic treats for kids’ parties or festive celebrations—even a splash of glitter for a touch of whimsy!
By trying out these variations, you’ll discover that homemade marshmallows can be as creative as you are!
Cooking Tips and Notes
Preventing Sugar Crystallization
To ensure your homemade marshmallows turn out perfectly fluffy and smooth, it’s crucial to prevent sugar crystallization. Use high-quality granulated sugar, and make sure all utensils and containers are clean and dry. Adding corn syrup to your sugar mixture helps inhibit crystallization by giving sugar an extra stability boost, allowing you to achieve that dreamy consistency.
Ensuring Consistency
A few key steps can elevate the texture of your homemade marshmallows. First, be patient while whipping the mixture; it should transform into a thick, glossy volume. A stand mixer can be your best friend here, providing the steady speed needed for the ideal fluffiness. Also, if you want to experiment with flavors, you can customize the background notes with extracts or a hint of salt, as this enhances the overall taste.
Storing Marshmallows
To keep your homemade marshmallows fresh, store them in an airtight container at room temperature. They can typically last for up to two weeks—but trust me, they’ll likely disappear much faster! If you want to keep them longer, consider freezing them. Wrap each marshmallow individually in plastic wrap before placing them in a freezer bag; when you’re ready to indulge, just let them thaw at room temperature.
Serving Suggestions
Enjoying homemade marshmallows goes beyond just enjoying them on their own; these fluffy treats can elevate your favorite recipes in delightful ways. Their versatile nature makes them perfect for various serving suggestions that can tantalize your taste buds.
Marshmallows in Hot Cocoa
Picture a cozy evening wrapped in a blanket with a steaming cup of hot cocoa by your side. Adding homemade marshmallows turns this soothing beverage into a magical experience. As they melt, they create a luscious creaminess that complements the rich cocoa perfectly, providing both visual delight and an irresistible sweetness.
S’mores Delight
Take your campfire tradition up a notch with homemade marshmallows for s’mores. Instead of store-bought, these fluffy wonders offer a gourmet twist. Just melt over the fire with graham crackers and chocolate, and let the delicious, oozy mixture envelop your taste buds with every bite.
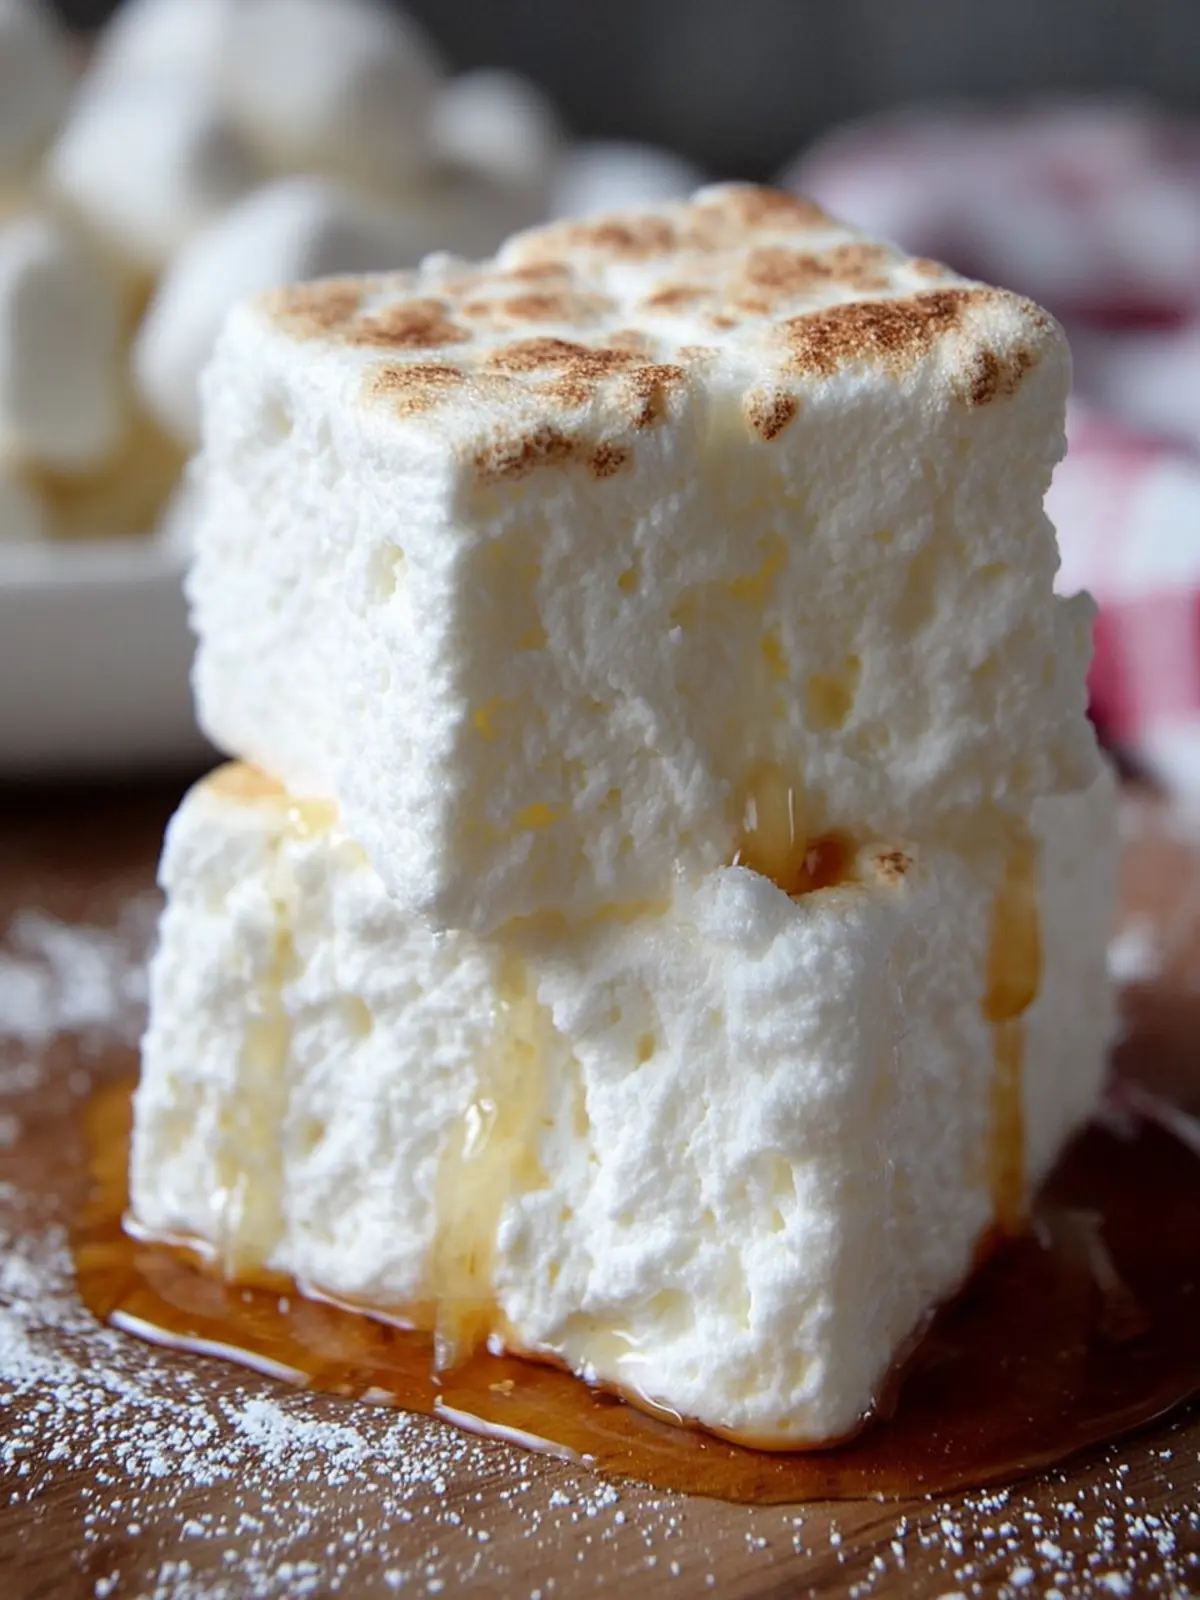
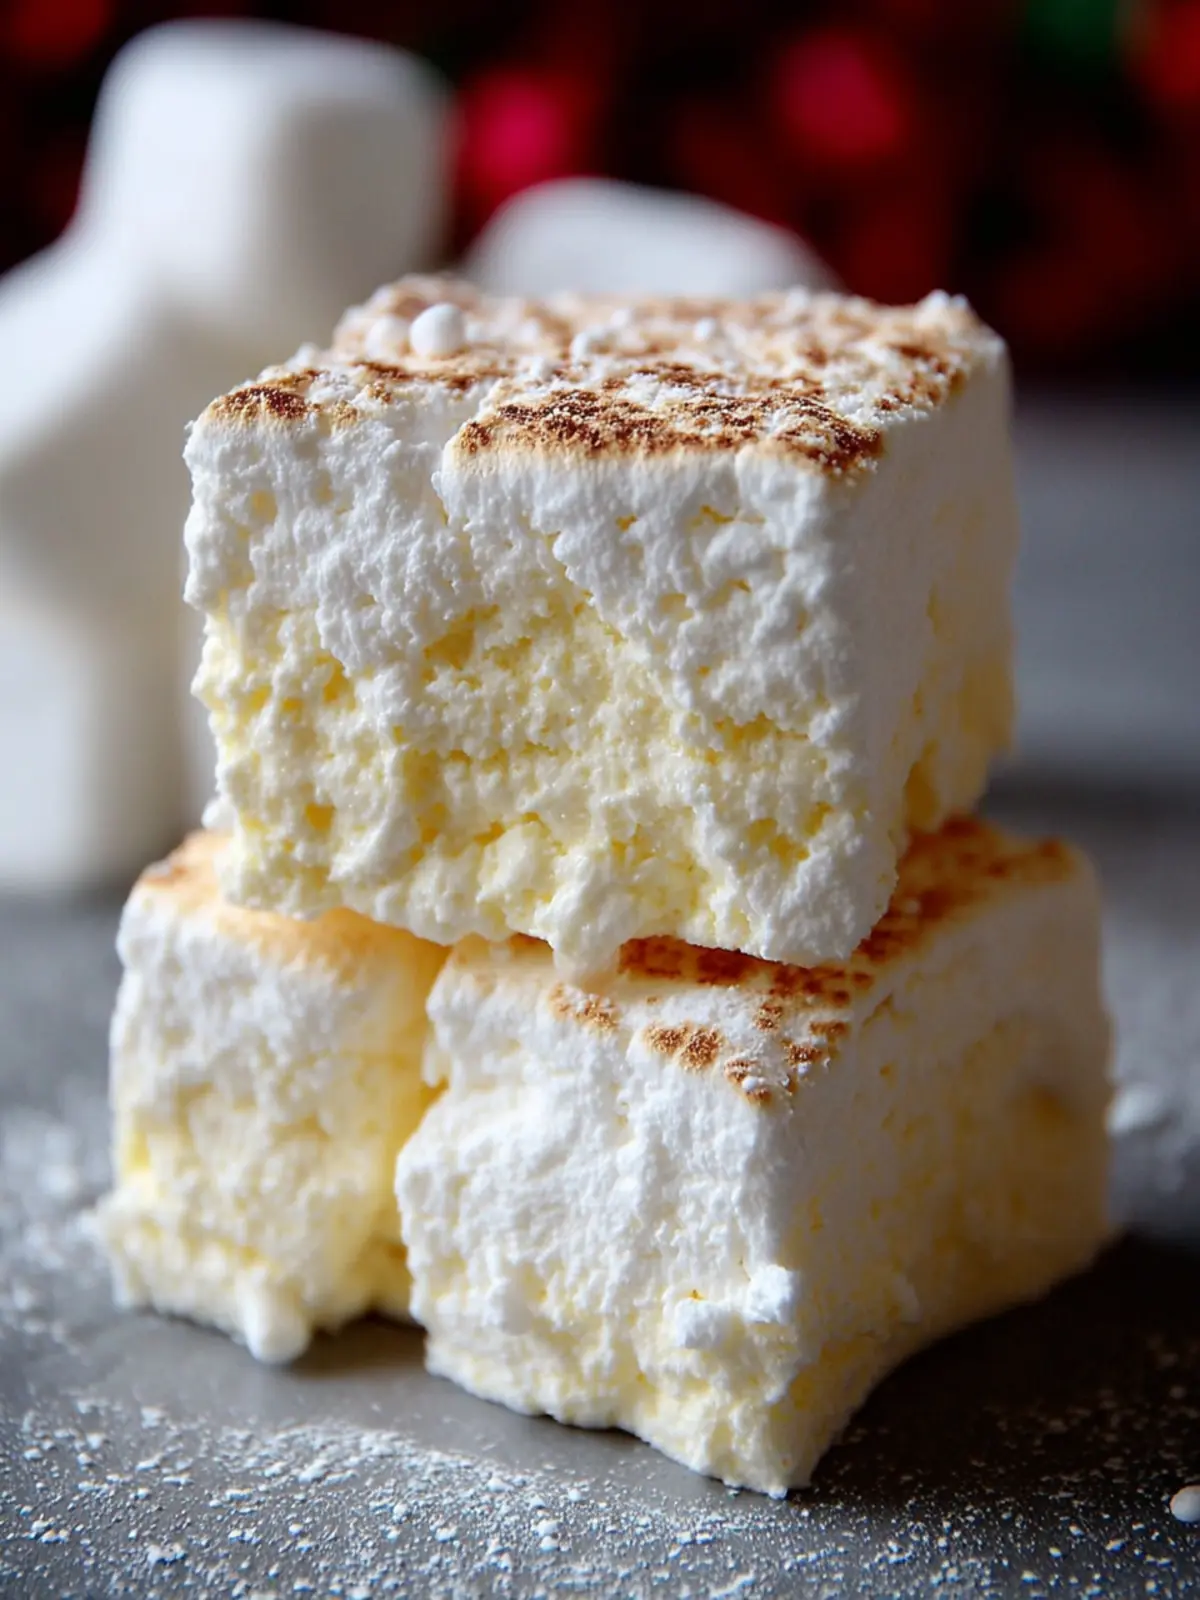
Topping for Desserts
Transform ordinary desserts by topping them with homemade marshmallows. Whether it’s a rich brownie or a fruit salad, these airy delights add sweetness and texture. Consider lightly toasting the marshmallows under a broiler to bring out their caramelized flavor, creating a delightful contrast to your desserts.
Time Breakdown for Homemade Marshmallows
Making homemade marshmallows is a delightful experience that not only fills your kitchen with sweet aromas but also provides a wonderful treat you can enjoy in so many ways. Let’s break down the time needed to create these fluffy goodies.
Preparation Time
This step usually takes about 20 minutes. You’ll need to gather your ingredients and tools such as a mixer, thermometer, and a pan. Don’t forget to grease the pan with a little non-stick spray for easy removal later, making things smoother.
Cooking Time
The cooking phase takes around 10 to 15 minutes. This involves dissolving the sugar in your chosen sweetener and whipping it to soft peaks. Just keep a close eye on your thermometer; you want the sugar mixture to reach the perfect temperature for that ideal marshmallow fluffiness.
Cooling Time
Once you’ve poured the fluffy mixture into the prepared pan, let it cool for at least 4 hours or, even better, overnight. This patience will pay off when you cut into those deliciously fluffy homemade marshmallows. Trust me, the wait will be worth every second!
Nutritional Facts
Creating homemade marshmallows is not just a fun kitchen project; it’s also a delightful treat! However, it’s essential to understand the nutritional balance of your creations.
Calories
Each serving of these fluffy homemade marshmallows contains approximately 100 calories. While this indulgence can fit into a moderately sweet diet, moderation is key.
Sugar Content
With around 25 grams of sugar per serving, these marshmallows are undoubtedly a sugary treat. It’s the sugar that gives them their signature sweetness and airy texture, so enjoy them as an occasional delight rather than a daily staple.
Protein
While the focus of homemade marshmallows isn’t on protein, you’ll find about 1 gram per serving. This isn’t much, but paired with other snacks or desserts can make for a satisfying treat!
FAQs about Homemade Marshmallows
Homemade marshmallows are an indulgent treat that many enthusiasts love to create in their own kitchens, but sometimes questions arise during the process. Here are some common queries to ensure your marshmallow-making journey is smooth and enjoyable.
Can I use different flavor extracts?
Absolutely! One of the delights of making homemade marshmallows is the ability to customize flavors. Vanilla extract is classic, but feel free to experiment with others like almond, peppermint, or even coconut. Just remember that some extracts are stronger than others—start with a teaspoon and adjust to taste. Infusing your marshmallows with unique flavors can make them a standout addition to any dessert or a creative gift.
What if my marshmallows didn’t set?
If your marshmallows didn’t set, it could be due to insufficient gelatin or not cooking the sugar mixture to the right temperature. Make sure to use unflavored gelatin properly and check that your sugar syrup reaches at least 240°F (the soft-ball stage). If all else fails, try adding a bit more gelatin next time or letting them sit longer in a cool, dry place. They can still be delicious as a topping for hot cocoa or a sweet addition to baked goods!
How do I know when to stop mixing?
The key to perfect homemade marshmallows is in the mixing. Once your mixture turns white and fluffy, and it has tripled in volume, you’re on the right track. You can test it by dripping a small amount onto a plate. If it holds its shape and doesn’t melt into a puddle, you’ve reached the perfect consistency. Just be cautious not to overmix, as it can become too stiff and gummy.
With these tips in hand, you’re all set to create some delightful marshmallows that will impress friends and family alike!
Conclusion on Homemade Marshmallows
Creating your own homemade marshmallows is more than just a culinary project; it’s an experience that delights both the senses and the soul. With a few simple ingredients and a bit of patience, you can craft fluffy, sweet treats that elevate everything from hot chocolate to desserts. Whether you’re sharing them with friends at a cozy gathering or enjoying them solo while binge-watching your favorite show, these marshmallows add a personal touch to any occasion. Remember, each batch reflects your creativity and flavor preferences, so don’t hesitate to experiment with different extracts and toppings to make them uniquely yours!
Print
Marshmallows
- Total Time: 4 hours 20 minutes
- Yield: 20 marshmallows 1x
- Diet: Vegetarian
Description
Delicious homemade marshmallows made with simple ingredients.
Ingredients
Scale
- 3 tbsp Great Lakes gelatin
- 1/2 cup cold water
- 1/4 cup cold water
- 2 cup sugar
- 2/3 cup Sugar in the Raw syrup
- dash salt
- 2 tsp homemade vanilla extract
Instructions
- Combine gelatin and 1/2 cup of water in an electric mixer bowl and let bloom while cooking sugar syrup.
- Combine sugar, Sugar in the Raw syrup, 1/4 cup water, and salt in a medium saucepan. Bring to a boil and allow to remain at a rolling boil for 3 minutes.
- Turn the mixer on low with just the gelatin in the bowl. Pour boiling syrup over gelatin and slowly raise the speed to high over about 4 minutes to avoid splatter.
- Add vanilla at this point and continue to beat until it is the consistency of marshmallow cream. This usually takes about 5-10 minutes, depending on the temperature of your kitchen and the speed of your machine.
- Pour mix into a greased 9 x 13 pan. Allow to cool.
- After about 4 hours, use a greased pizza cutter to slice into individual marshmallows.
Notes
- Make sure to use a greased pizza cutter for easy slicing.
- Store in an airtight container for freshness.
- Prep Time: 10 minutes
- Cook Time: 10 minutes
- Category: Desserts
- Method: Mixing
- Cuisine: American
Nutrition
- Serving Size: 1 marshmallow
- Calories: 100
- Sugar: 18g
- Sodium: 5mg
- Fat: 0g
- Saturated Fat: 0g
- Unsaturated Fat: 0g
- Trans Fat: 0g
- Carbohydrates: 25g
- Fiber: 0g
- Protein: 2g
- Cholesterol: 0mg