Follow Me On Social Media!

Cherry Pie Recipe: Irresistibly Sweet and Simplistically Delicious
Introduction to Cherry Pie Recipe
There’s a certain magic that comes with a well-made cherry pie recipe, one that tugs at the heartstrings and sparks memories of summer picnics and family gatherings. Imagine walking into a kitchen filled with the warm, inviting aroma of baked cherries mingling with buttery crust—it’s a sensory experience that many of us cherish from childhood. Each bite carries a wave of nostalgia, reminding us of those sun-kissed afternoons spent picking ripe cherries with loved ones.
Making a cherry pie is not just about creating a dessert; it’s about preserving those timeless moments, reuniting over something sweet, and reveling in the joy of home-cooked goodness. A cherry pie has the unique ability to take center stage at any gathering, whether it’s a casual barbeque or a festive holiday feast.
The sweet nostalgia of cherry pie
So, what makes a cherry pie recipe truly special? It starts with the cherries themselves. Whether you opt for tart or sweet varieties, their vibrant color and distinct flavor pop against a flaky, golden crust. What’s your preference? Are you a fan of the classic, traditional pie or do you prefer to put a unique spin on it, perhaps with a dash of almond extract or a crumb topping?
Here’s a challenge: the next time you sit down with a slice of freshly baked cherry pie, take a moment to reflect. Does it bring back memories of family baking sessions or long summer days? Do you remember the first time you baked a pie from scratch? These moments are often tied intrinsically to our love for food, making each bite far more meaningful.
As we delve into the cherry pie recipe itself, prepare to engage your taste buds and ignite your imagination. It’s not just about the ingredients; it’s about the stories they carry and the connections we forge through sharing good food. So, let’s roll up our sleeves and get ready to bake a pie that honors these memories and creates new ones!
Key Ingredients for Cherry Pie Recipe
Creating the perfect cherry pie recipe starts with choosing the right ingredients, all of which come together to create that nostalgic sweet-tart flavor and flaky crust we love.
-
Cherries: Fresh, ripe cherries are the heart of this pie. I love using sweet Bing cherries for their robust flavor, but if they’re out of season, feel free to substitute with frozen cherries. Just remember to thaw and drain them well before use!
-
Sugar: A balanced combination of granulated sugar and brown sugar adds depth to the filling. Granulated sugar intensifies the cherry sweetness, while a bit of brown sugar brings a subtle hint of caramel.
-
Cornstarch: This ingredient is essential for thickening the filling. It helps absorb the cherry juices and creates a luscious, gooey texture that clings to each bite.
-
Lemon Juice: A splash of fresh lemon juice enhances the flavor, cutting through the sweetness and boosting the cherry taste.
-
Butter: It’s key for the pie crust’s tenderness. I prefer using unsalted butter for better control over the saltiness of the pie.
-
Flour: All-purpose flour is ideal for both the crust and for dusting the cherries. It provides structure without being overly dense.
-
Salt: Just a pinch! It elevates the flavors, making the filling even more delightful.
When these ingredients come together, they create a cherry pie that feels like a warm hug on a plate, perfect for any occasion!
Why You’ll Love This Cherry Pie Recipe
There’s something magical about a classic cherry pie recipe that instantly transports you to sun-soaked summer days, sitting at a picnic table with friends and family. Imagine biting into a perfectly flaky crust filled with vibrant, juicy cherries—the sweetness and tang intertwining in perfect harmony. This isn’t just any dessert; it’s a nostalgic experience that evokes joy and warmth, making every slice a reason to celebrate.
Here’s why this cherry pie recipe will quickly become a staple in your kitchen:
-
Simple Yet Satisfying: With just a handful of ingredients, you can create a delightful treat that impresses every guest. Who doesn’t love a recipe that’s easy but looks like you spent hours on it?
-
Flavor Explosion: The combination of ripe cherries, a hint of lemon, and a touch of sugar creates a flavor experience that’s both refreshing and indulgent. It’s a classic that never gets old.
-
Customization Opportunities: Whether you’re a fan of extra spices or prefer a more traditional approach, this pie can be tailored to suit your taste. Throw in some almond extract or a sprinkle of nutmeg to make it uniquely yours.
-
Perfect for Any Occasion: Be it a holiday gathering, a summer barbecue, or a sweet weekend treat, this cherry pie recipe adapts to every celebration, bringing people together over a slice of nostalgia.
Embrace the joy of baking and create lasting memories with every delicious bite.

Tips for Making the Perfect Cherry Pie
Crafting a delicious cherry pie recipe is like a rite of passage, especially when summer cherries are at their peak. Each bite should offer a harmonious balance of sweet and tart flavors, and some simple tips can elevate your pie from good to unforgettable.
Choose the Right Cherries
Selecting the right cherries is crucial. Fresh, ripe cherries not only enhance the flavor but also provide a beautiful color. Tart cherries are often recommended for a more balanced taste, but feel free to mix sweet and tart varieties for complexity.
Keep Ingredients Cold
To achieve that perfectly flaky crust, keep your butter and water cold. This helps create steam during baking, resulting in an airy texture. Chilled ingredients minimize gluten formation in the dough, preventing a tough crust.
Taste Your Filling
Before pouring your cherry filling into the crust, always taste it! Adjust the sugar according to your sweetness preference and add a splash of lemon juice to brighten the flavors. A hint of almond extract can also add a lovely depth.
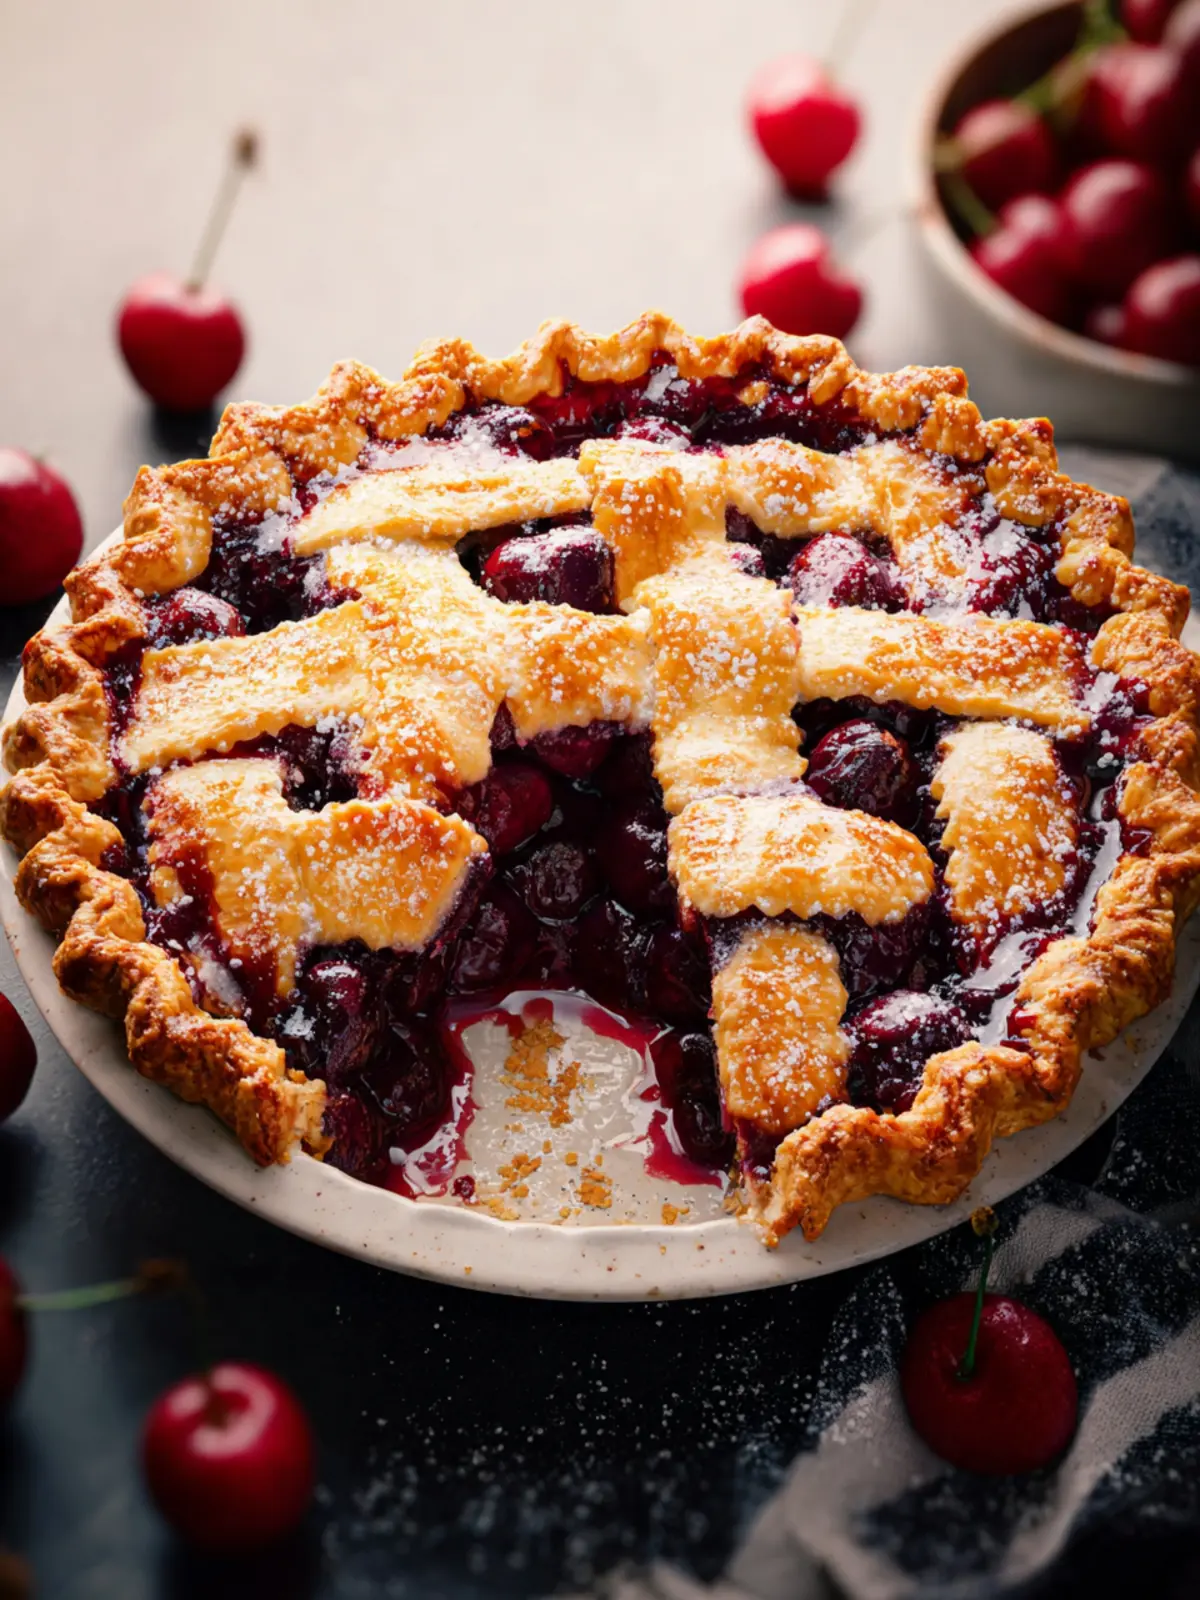
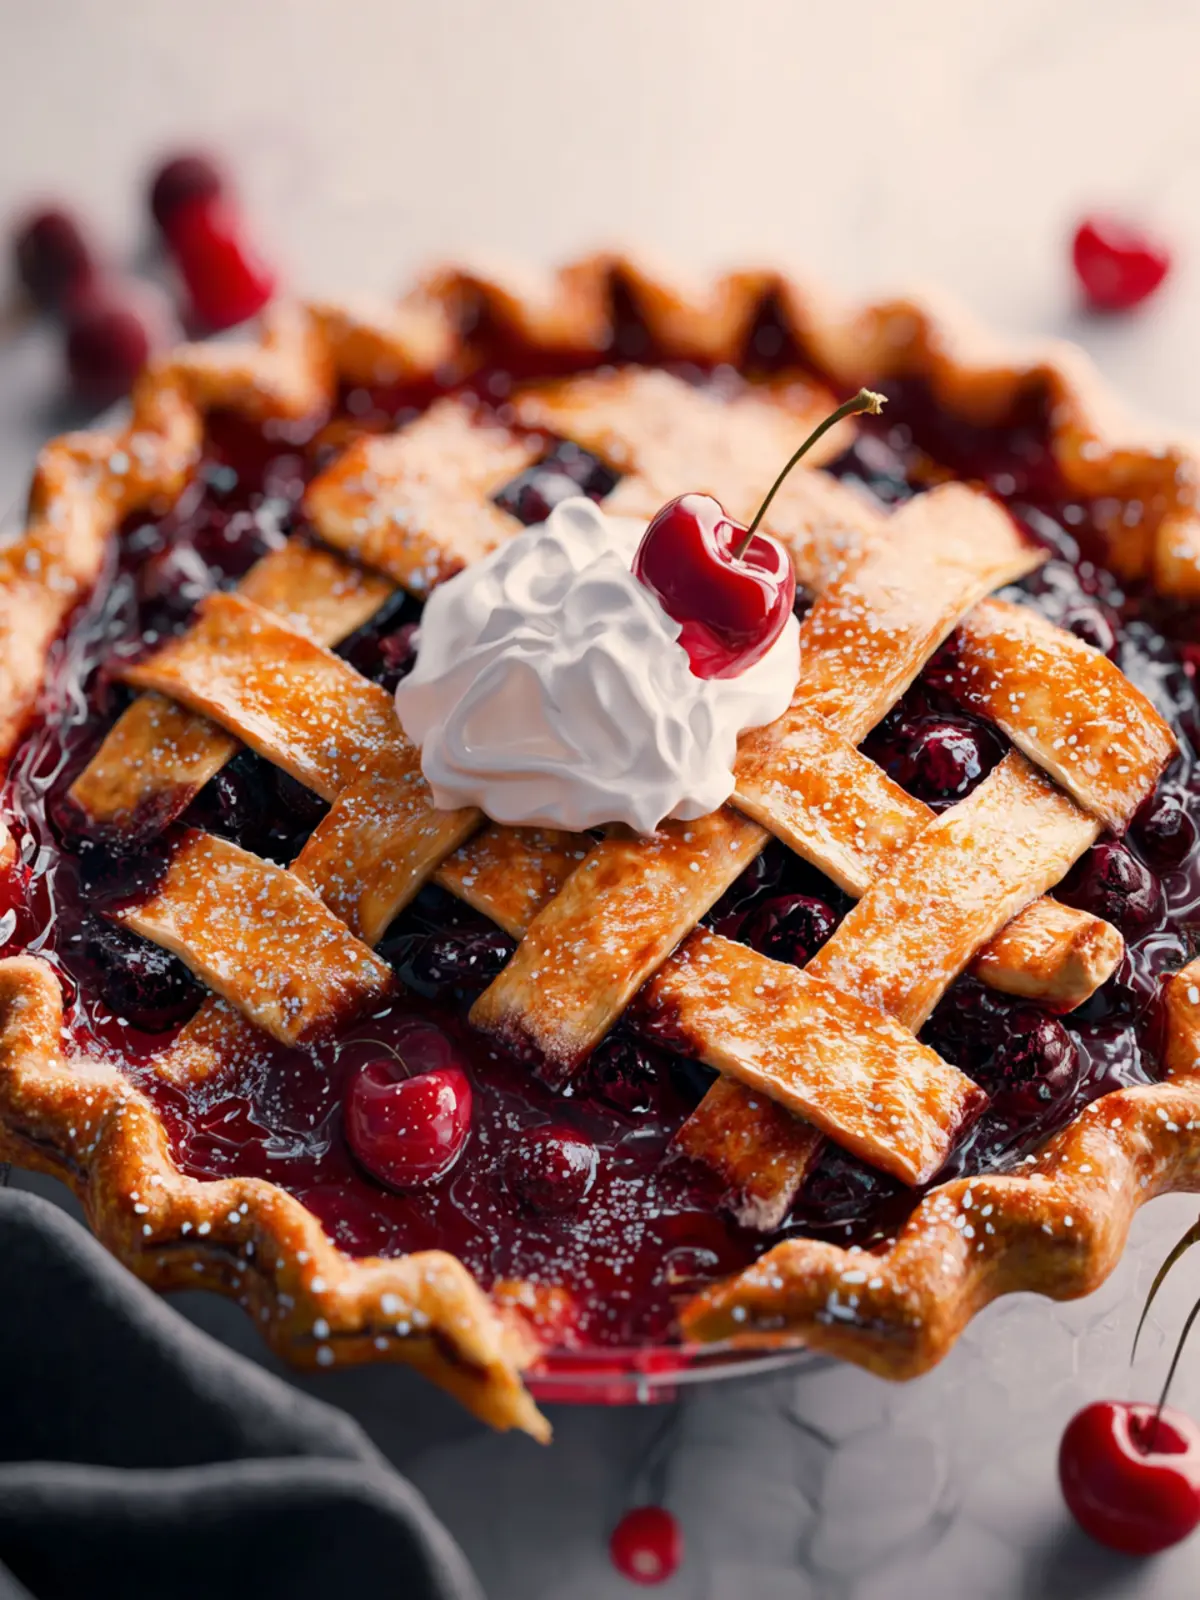
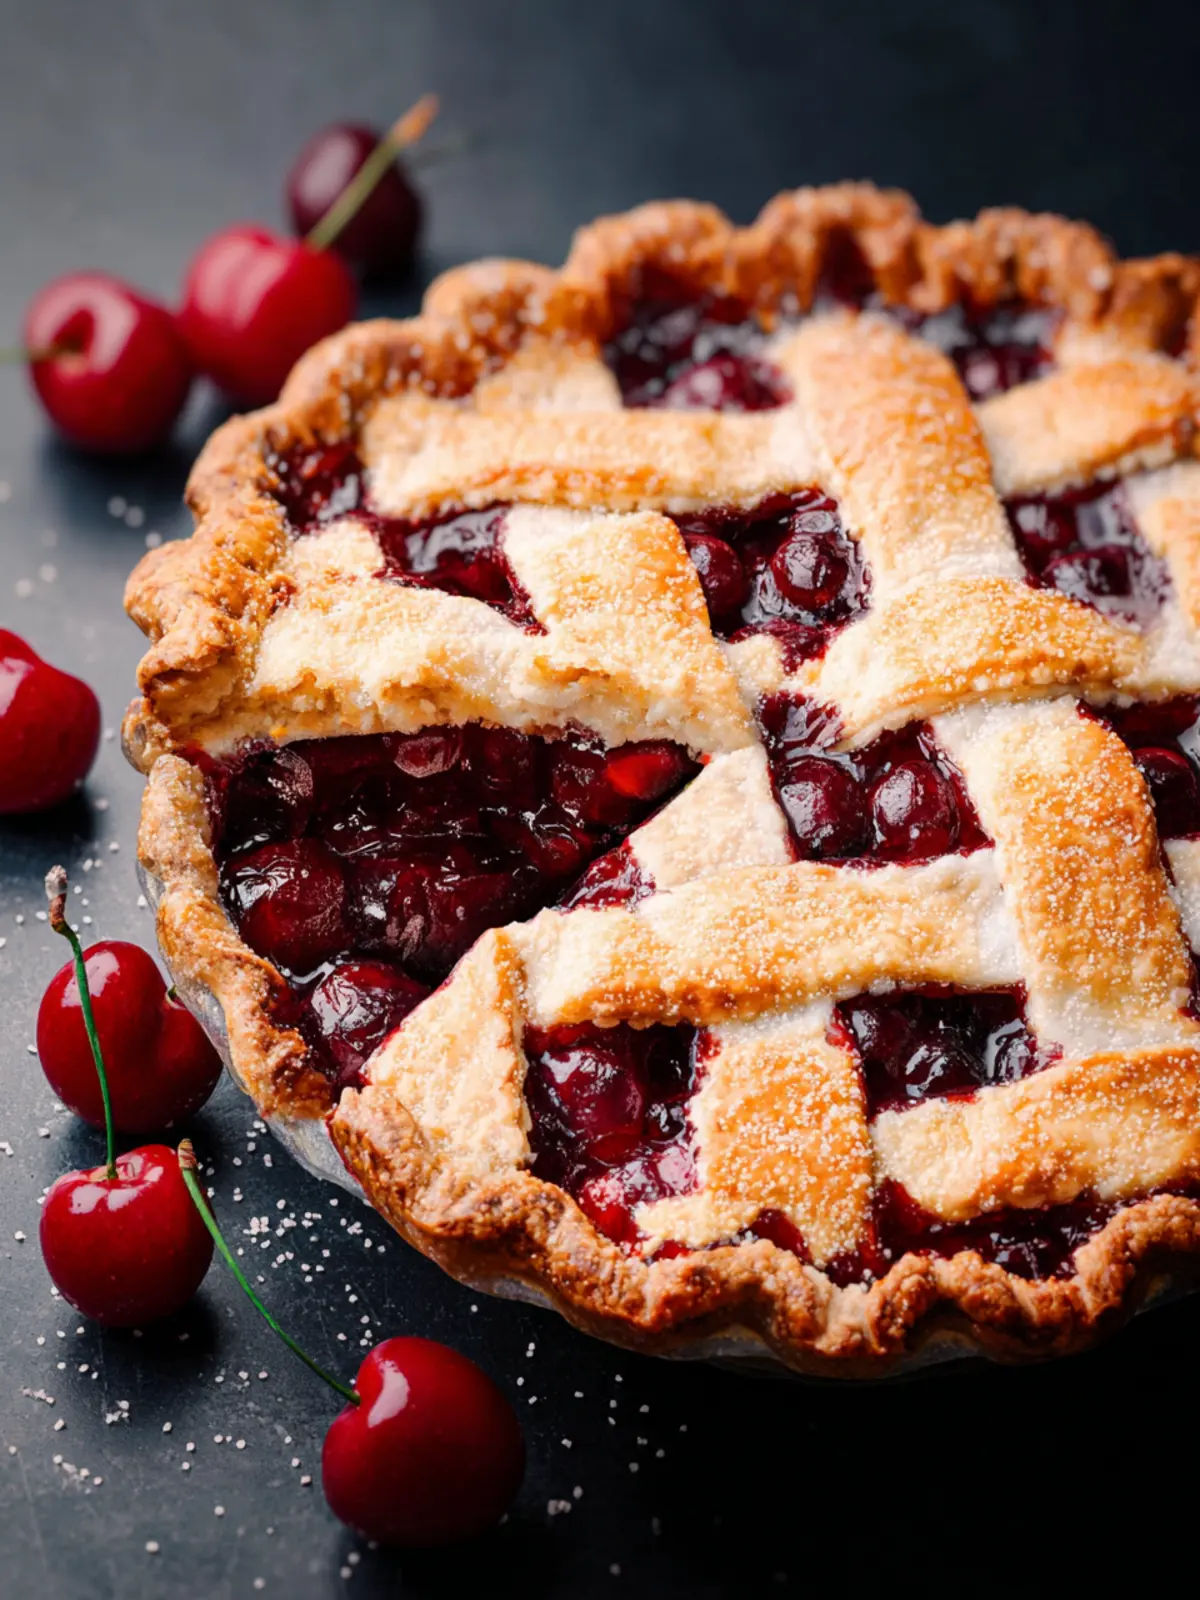
Use a Lattice Crust
If you’re feeling adventurous, opt for a lattice crust. It’s visually appealing and allows steam to escape, preventing a soggy bottom. Plus, the crisscross pattern adds a touch of charm to your dessert.
Let It Cool
Once your pie is out of the oven, let it cool completely. This allows the filling to set, making slicing easier and ensuring that each piece holds its shape.
By following these tips, you’ll soon master the art of creating a scrumptious cherry pie recipe, perfect for sharing at gatherings or enjoying on your own!
Time Breakdown for Cherry Pie Recipe
Creating the perfect cherry pie recipe is not just about the delectable flavors but also about managing your time effectively. Here’s a helpful breakdown to guide you through the process with ease.
Preparation Time
Setting the stage starts with a preparation time of about 20 minutes. This includes pitting the cherries, mixing the filling, rolling out the dough, and assembling your pie.
Baking Time
Patience pays off in baking! Once your pie is assembled and ready, pop it in the oven for around 45 to 50 minutes. This will give you that lovely golden crust and bubbling cherry filling you crave.
Total Time
In total, you’re looking at roughly 1 hour and 10 minutes from start to finish. This allows for both preparation and baking, ensuring you have time to savor the anticipation of enjoying your homemade cherry pie.
Nutritional Information for Cherry Pie Recipe
Indulging in a homemade cherry pie can be a delightful experience, and understanding its nutritional profile makes it even sweeter. This classic dessert offers a balance of flavors and nutrients, allowing you to enjoy it guilt-free.
Calories
A slice of this cherry pie recipe typically contains around 250-300 calories. This makes it a great treat for occasional enjoyment!
Protein
With approximately 2-3 grams of protein per slice, you won’t find this dessert packed with protein, but it’s just enough to complement the delightful cherries.
Sodium
Each slice has about 150-200 mg of sodium, helping to maintain flavor while still keeping it a relatively healthy dessert option.
Enjoying this cherry pie recipe means treating yourself, and having a clear idea of what you’re consuming can enhance your enjoyment!
FAQs about Cherry Pie Recipe
Crafting the perfect cherry pie recipe can be a delightful experience, but it’s natural to have a few questions along the way. Here are some common inquiries that might pop up while you bake your delicious creation!
How can I prevent my cherry pie from being too runny?
A common concern with any fruit pie is achieving the right consistency. To avoid a watery cherry pie, consider the following tips:
- Thickeners: Adding cornstarch or tapioca to your cherries can help absorb excess juice. About 2 tablespoons per 4 cups of cherries is a good starting point.
- Pre-cook the Filling: Gently simmer the cherries with sugar before adding them to the crust. This reduces the moisture content and allows you to gauge the sweetness.
- Cool Time: Allow your pie to cool completely before slicing. This will help the filling firm up as it sets.
Can I use frozen cherries for this recipe?
Absolutely! Frozen cherries can work remarkably well in your cherry pie recipe. Just make sure to:
- Thaw: Let them thaw completely and drain off excess liquid before mixing with your other ingredients.
- Adjust Sugar: Frozen cherries might be more tart, so consider a slight increase in sugar to balance the flavors.
How should I store leftover cherry pie?
Storing your leftover pie correctly can keep it fresh and delicious:
- Room Temperature: If you plan to eat it within two days, cover it loosely and leave it at room temperature.
- Refrigeration: For longer storage, wrap the pie tightly in plastic wrap or aluminum foil and refrigerate. It should last up to a week.
- Freezing: If you want to preserve it for an extended period, slice it and freeze the pieces in an airtight container. Enjoy them within three months for the best taste.
These tips will help ensure your cherry pie experience is as enjoyable as the delicious dessert itself!
Conclusion on Cherry Pie Recipe
In wrapping up our delightful cherry pie recipe, it’s easy to see why this classic dessert holds a special place in our hearts. This pie is not just about savoring sweet cherries; it’s an experience that invites you to cherish memories shared around the dinner table. As you assemble your ingredients, remember that fresh, sweet cherries really elevate the flavor, while a buttery crust provides the perfect backdrop. Whether you’re serving it warm with a scoop of ice cream or enjoying it cold the next day, your homemade cherry pie will undoubtedly be a hit. So grab those cherries and get baking!
Print
Cherry Pie
- Total Time: 1 hour 30 minutes
- Yield: 8 slices 1x
- Diet: Vegetarian
Description
A delicious cherry pie made with fresh cherries and a flaky crust.
Ingredients
Scale
- 5 cups fresh cherries (pitted, see note 1)
- 2/3 cup granulated sugar
- 1 large lemon (1–1/2 tablespoons juice)
- 1/8 teaspoon salt
- 1/4 cup cornstarch
- 2 tablespoons unsalted butter
- 1 teaspoon vanilla extract
- 1/8 teaspoon almond extract (optional)
- 2 homemade pie crusts
- 1 large egg (plus 1 tablespoon milk)
- 2 tablespoons coarse sparkling sugar
Instructions
- If possible, make the pie crusts the day before. Cold dough = better pie! Follow pie crust recipe and chill thoroughly.
- Wash and fully dry the cherries. Remove stems and pits. Cut half of the cherries in half, and the rest into quarters. Add cherries to a medium pot with sugar and lemon juice. Cook, stirring occasionally, over medium heat for 3–5 minutes until juices are released. Use a slotted spoon to transfer cherries to a large bowl, leaving the juices in the pot on the stovetop.
- In a separate small bowl, add the cornstarch. Remove 2 tablespoons of the hot cherry juice and whisk it into the cornstarch until smooth. Gradually pour the cornstarch mixture back into the pot with the remaining juice, whisking constantly to prevent lumps. Cook, whisking constantly, over medium heat, until thick and smooth, about 3-5 minutes. Pour over the cherries and gently toss to coat. Stir in butter until melted. Add vanilla and almond extract, if using. Refrigerate the filling while you roll out the pie crust. Filling should be cold before adding to the base crust.
- Lightly grease a 9-inch pie pan with cooking spray. Roll out one chilled pie crust to a 12″ circle. Fit into the pan and spoon in the cooled cherry filling. Preheat oven to 400°F.
- Roll out the second crust and cut into 1/2-inch strips. Arrange over the filling in a lattice pattern. Seal and crimp the edges as desired (see note 2).
- Whisk egg and milk in a small bowl. Brush over the top crust, then sprinkle with coarse sugar. Bake at 400°F for 20 minutes. Lower oven to 375°F and bake an additional 30-40 minutes, or until the top is golden and juices bubble through the crust for at least 5 minutes. Check the pie after 30 minutes and cover the edges with a pie crust shield if browning too quickly.
- Let the pie cool on a wire rack for at least 3-4 hours before slicing. The filling sets as it cools. Cutting too early will result in a runny pie. Once fully cooled, slice and serve, or cover and refrigerate to serve the next day.
Notes
- Make sure cherries are pitted and prepared properly for the best results.
- Use a pie crust shield to prevent over-browning if necessary.
- Prep Time: 30 minutes
- Cook Time: 1 hour
- Category: Dessert
- Method: Baking
- Cuisine: American
Nutrition
- Serving Size: 1 slice
- Calories: 300
- Sugar: 20g
- Sodium: 150mg
- Fat: 12g
- Saturated Fat: 7g
- Unsaturated Fat: 4g
- Trans Fat: 0g
- Carbohydrates: 45g
- Fiber: 2g
- Protein: 3g
- Cholesterol: 80mg