Follow Me On Social Media!

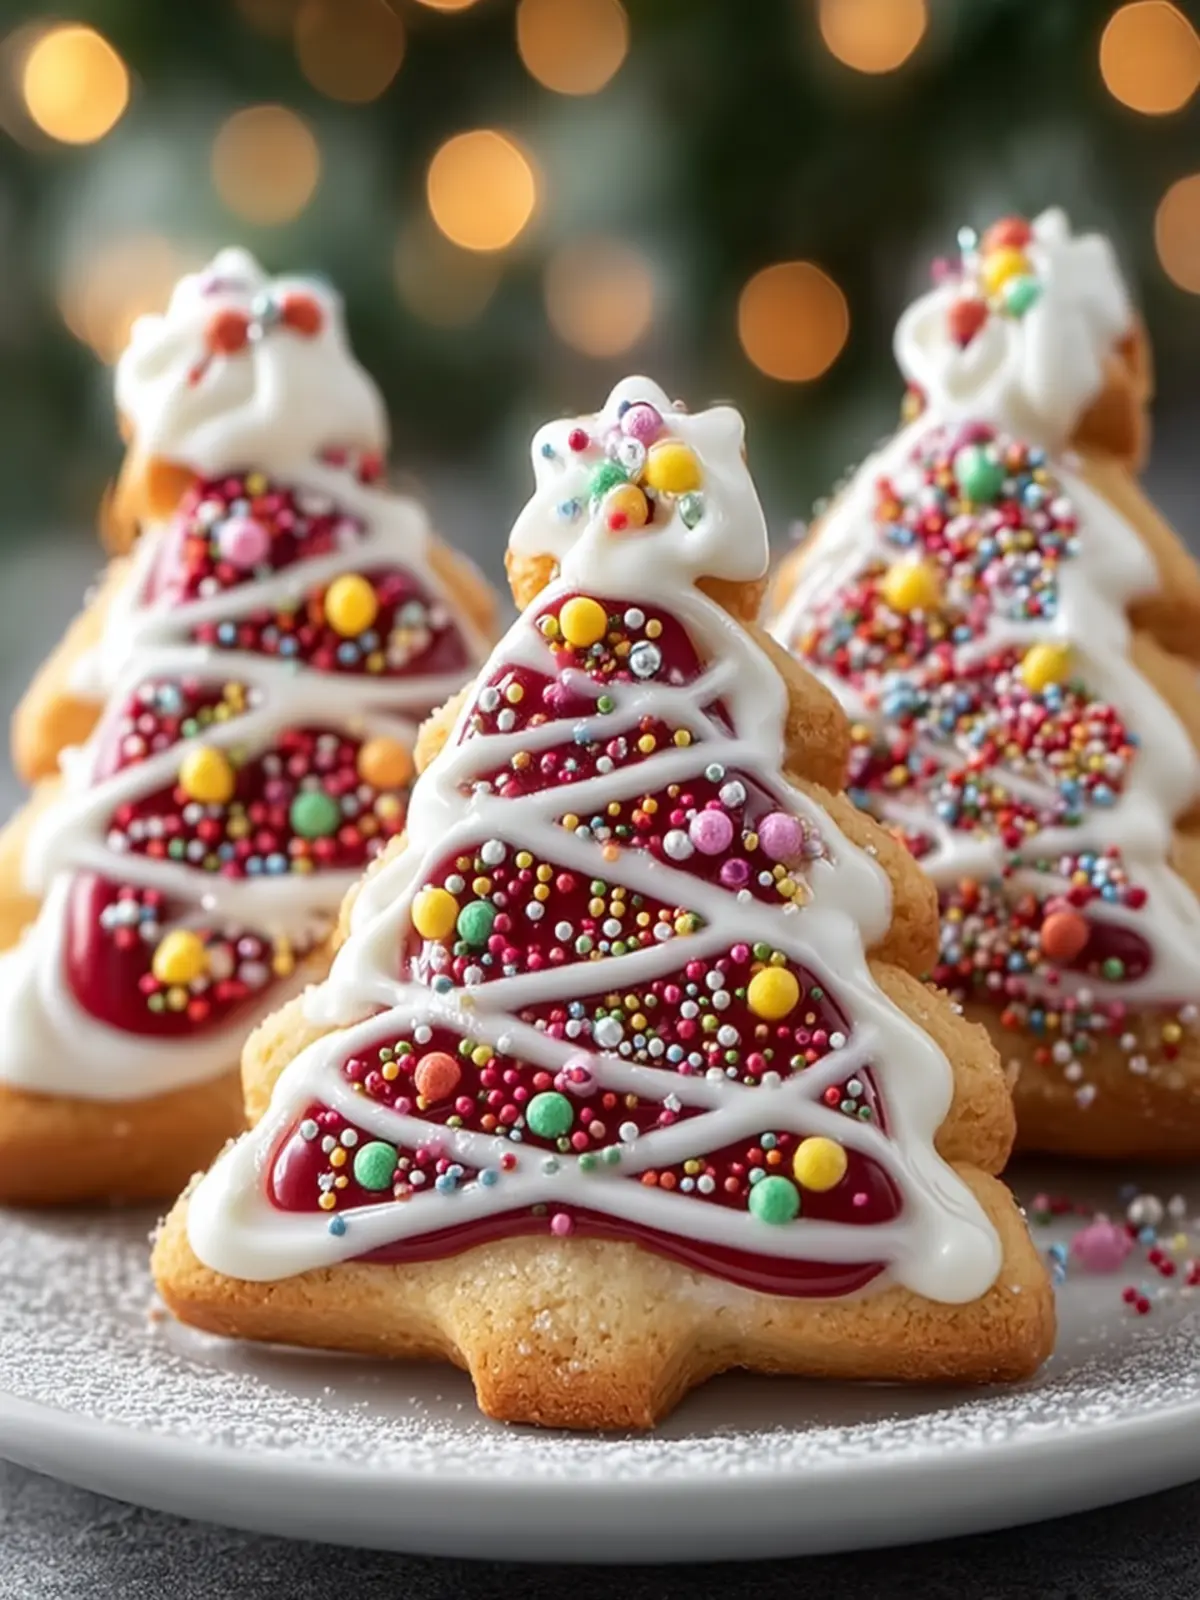
Festive Christmas Tree Cookies That Spark Holiday Joy
Introduction to Festive Christmas Tree Cookies
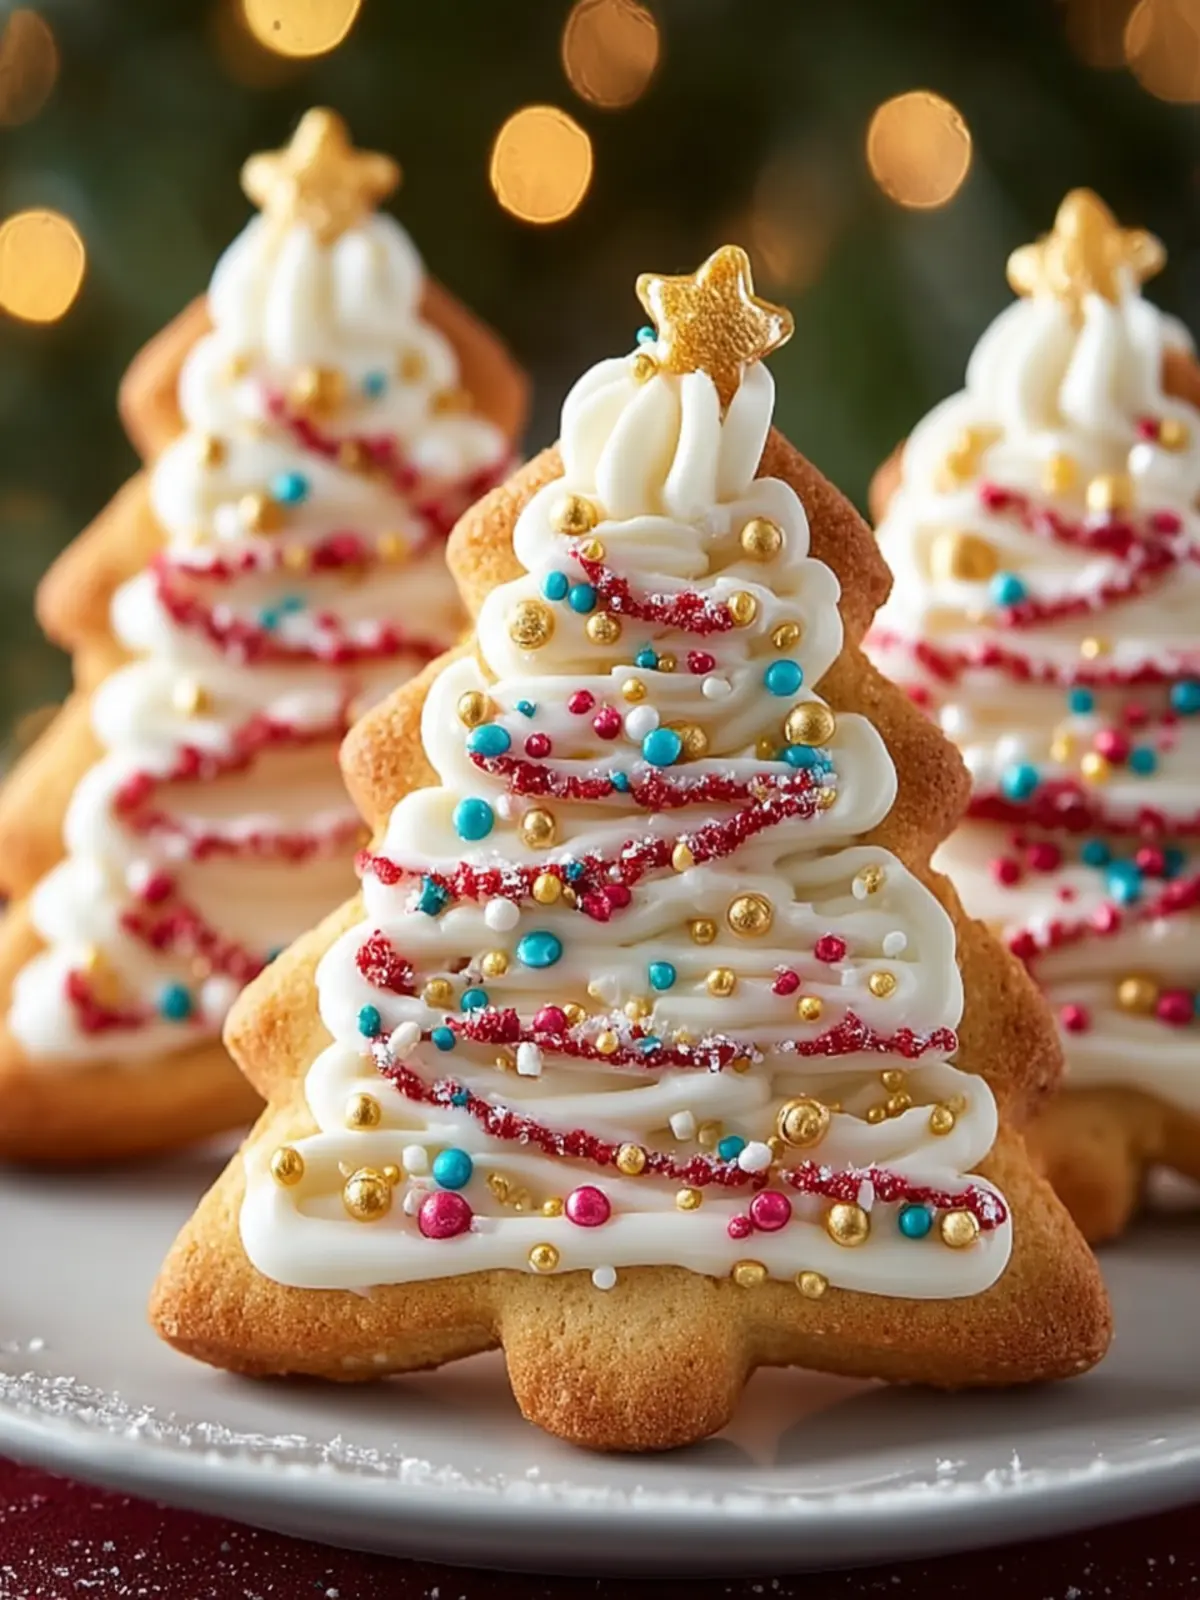
There’s something truly magical about baking festive Christmas tree cookies during the holiday season. As the scent of warm vanilla and sugar wafts through your kitchen, you can almost hear the soft jingles of holiday bells and the laughter of family gathered around the tree. These delightful cookies aren’t just a treat; they’re a tradition that brings people together, creating memories that last a lifetime. Picture a cozy afternoon, with flour dusting your kitchen counter and colorful icing ready to transform plain cookies into charming little trees—each one as unique as the person decorating it.
What makes these cookies a holiday favorite? They’re not just visually appealing; they embody the spirit of the season. The vibrant green icing, resembling freshly trimmed fir trees, instantly brightens any festive gathering and adds a touch of whimsy to your dessert table. Their delightful taste combines the sweetness of sugar with a hint of vanilla, making each bite feel like a sweet embrace. Additionally, the texture is that perfect balance of crisp on the edges while still being soft and chewy in the center—a winning combination every time.
As you gather your ingredients, you’ll discover that part of the joy of making festive Christmas tree cookies lies in personalizing them. Want to add sprinkles or candies to the topping? Go right ahead! Each decoration can tell a story—perhaps a token from your childhood or a recent memory created with friends. For many, these cookies are more than just desserts; they’re a canvas for creativity and a source of connection.
This holiday season, let’s dive into a fun and rewarding baking adventure! Follow along as we create these enchanting cookies that are sure to become a classic in your holiday repertoire, filling your home with sweetness and joy.
Key Ingredients for Festive Christmas Tree Cookies
Festive Christmas Tree Cookies bring a delightful touch to holiday baking, not just visually but also in flavor. Here’s an overview of the key ingredients that help make these cookies a festive favorite.
All-purpose Flour
Using all-purpose flour provides the right balance of structure and tenderness in our cookie dough. It gives the cookies a nice chewiness while still allowing them to hold their shape—essential for those iconic tree designs!
Unsalted Butter
Unsalted butter is a must for achieving the rich, creamy flavor in our cookies. I recommend letting the butter soften at room temperature before mixing, as this aids in blending well with the sugar for a smooth, velvety consistency.
White Sugar
I use granulated white sugar to sweeten our cookies perfectly. This sugar helps achieve a crisp edge while keeping the centers wonderfully soft. It’s that classic sweetness we all expect from holiday treats!
Egg
An egg contributes essential moisture and helps bind the ingredients together effectively. This ensures we get a tender cookie with that perfect bite—just right for holidays!
Vanilla and Almond Extracts
The combination of vanilla and almond extracts adds depth and complexity to the flavor profile of your cookies. A splash of both gives a delightful aroma that’s synonymous with holiday celebrations.
Food Coloring and Decorative Elements
To create those lovely festive designs, I incorporate food coloring into the dough, allowing for vibrant and cheerful trees. Additionally, sprinkles, edible glitter, and frosting bring extra flair, making these cookies as beautiful as they are delicious!
Why You’ll Love These Festive Christmas Tree Cookies
Perfect for Gatherings
Imagine the buzz of laughter and the aroma of freshly baked treats wafting through your home during the holidays. Festive Christmas tree cookies are not just treats; they’re conversation starters! Their vibrant colors and charming designs make them the perfect centerpiece for any holiday gathering, from intimate family dinners to spirited office parties. Guests will be drawn to their whimsical tree shapes, and before you know it, they’ll be diving in for a taste. Plus, these cookies make for excellent homemade gifts, lending a personal touch that store-bought sweets simply can’t match.
Easy and Fun to Make
Baking can be a chore, but not with these delightful cookies! The simplicity of the festive Christmas tree cookie recipe makes it accessible for chefs of all levels. Gather your friends or family and turn cookie-making into a fun holiday activity. The process is filled with joy as you roll out the dough, cut it into festive shapes, and decorate them with colorful icing and sprinkles. Whip up a batch and before you know it, you’ll have created lasting memories in your kitchen, surrounded by laughter and the occasional frosting fight.
A Treat for All Ages
There’s something truly magical about cookies that brings out the child in everyone. Whether you’re baking with kids or surprising your friends, festive Christmas tree cookies delight palates of all ages. Their sweet, buttery flavor appeals to nostalgia while creating new memories. And let’s face it: who doesn’t enjoy the joy of decorating with icing and sprinkles? These cookies are versatile enough to please adventurous taste buds, making them a delightful treat that everyone will love to enjoy together.
Variations of Festive Christmas Tree Cookies
Creating festive Christmas tree cookies isn’t just about following a recipe; it’s about expressing your creativity in the kitchen. Let’s explore some delightful variations that can turn your cookie-baking into memorable experiences.
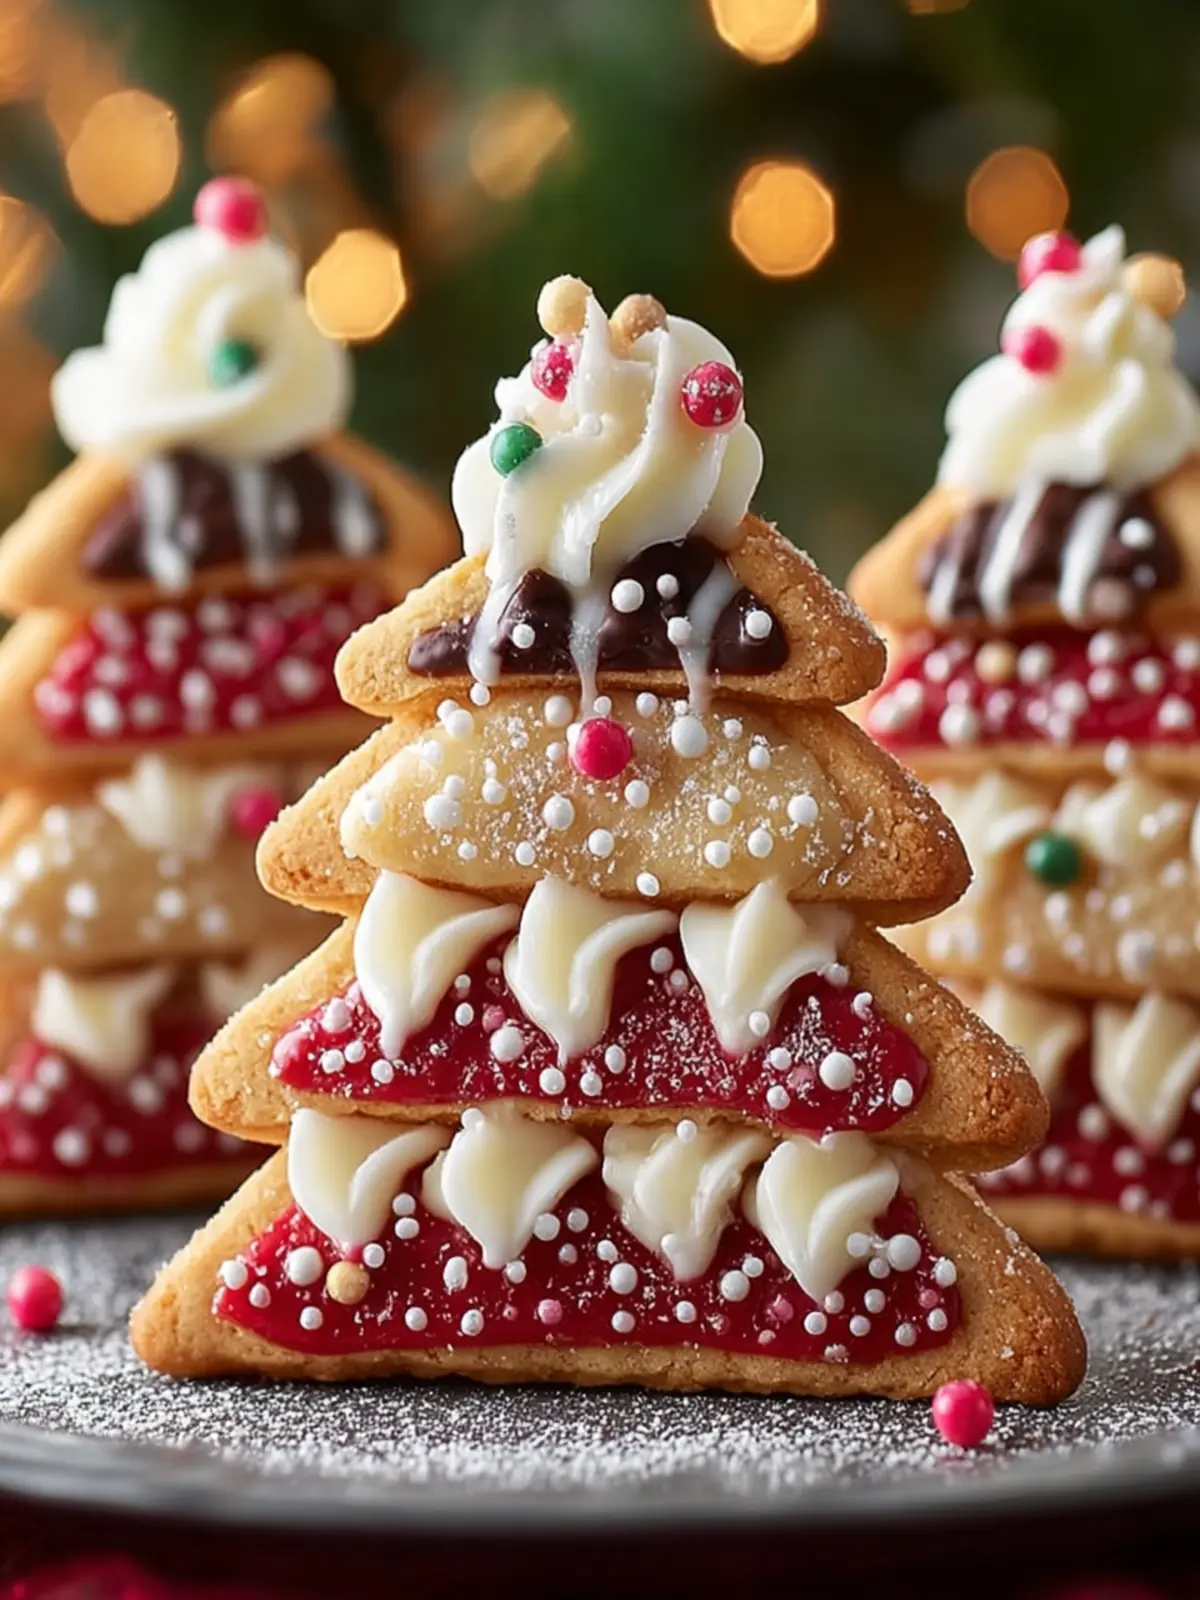
Different Cookie Shapes
While the classic Christmas tree shape is always a hit, try exploring other fun shapes to add variety to your cookie platter. Use star, snowflake, or even gingerbread man cookie cutters! You could bake a mix of shapes and arrange them in a way that tells a holiday story, with trees surrounding a star on top—who doesn’t love a little festive flair?
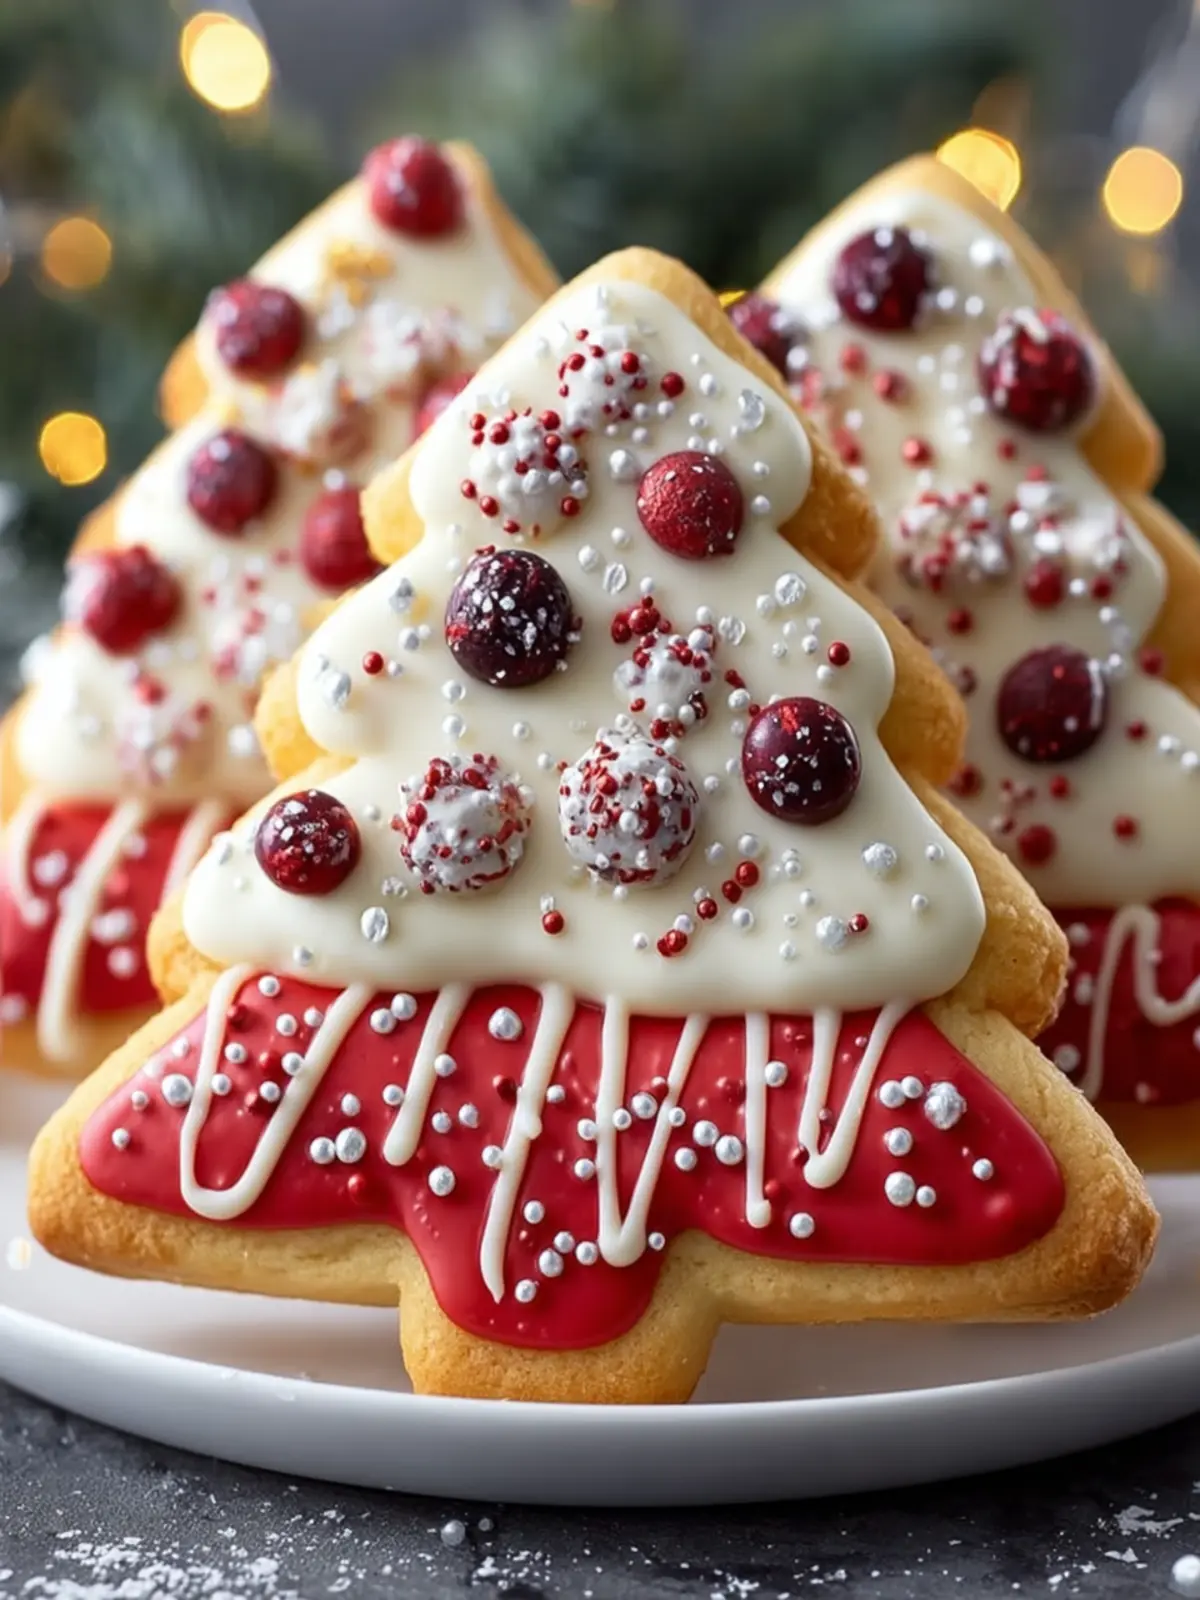
Alternative Colors and Sprinkles
Color brings joy, especially during the holiday season. Consider decorating your festive Christmas tree cookies with different shades of frosting. Instead of traditional green, try pastel colors like pink, blue, or even a bright red. Combine these with festive sprinkles like edible glitter, mini marshmallows, or chopped nuts for a unique texture and aesthetic that will appeal to both kids and adults.
Flavor Infusions
Why stick to vanilla when you can explore a world of flavors? Consider adding extracts like almond or peppermint to your dough for a delicious twist. You can also incorporate spices like cinnamon or nutmeg for a warm, holiday feel. For an unexpected surprise, toss in some crushed candy canes or orange zest to delight your taste buds with layers of flavor!
Embrace these variations and let your cookies shine on the holiday dessert table!
Cooking Tips and Notes for Perfect Cookies
Ensure Proper Butter Softening
For those festive Christmas tree cookies, achieving the right butter consistency is essential. Pull your butter out of the fridge about 30 to 60 minutes before you start baking. The goal is to have it soft enough to create a smooth and creamy texture without being melted. This little detail can make a big difference in your cookie’s spread and overall flavor.
Cool Cookies Before Decorating
Once your cookies are out of the oven, resist the temptation to dive in immediately! Allow them to cool on a wire rack for at least 10-15 minutes. This cooling period not only helps the cookies firm up but also ensures your icing won’t melt into a gooey mess while decorating. Trust me, a properly cooled cookie is crucial for that beautiful presentation.
Storage Tips for Freshness
After all that hard work creating your festive Christmas tree cookies, you’ll want to keep them fresh for as long as possible. Store them in an airtight container at room temperature. If you’re preparing them in advance, consider layering them between sheets of parchment paper to prevent sticking. With these tips, your cookies will remain delightful and delicious, ready for sharing or enjoying by yourself!
Serving Suggestions for Festive Christmas Tree Cookies
The joy of festive Christmas tree cookies extends beyond the baking process; it transforms into a delightful experience when shared or presented creatively. Let’s explore some wonderful ways to elevate your cookie experience this holiday season.
Displaying Your Cookies
A beautifully arranged platter of your festive Christmas tree cookies can serve as the centerpiece of your holiday gatherings. Consider:
- Layered Stands: Use tiered cake stands to create height and diversify the presentation.
- Decorative Boxes: Present cookies in charming holiday-themed boxes tied with ribbons for a cozy touch.
- Serving with Fresh Greenery: Incorporate pine branches or holly around the cookies for a natural look that resonates with the season.
Pairing with Drinks
Nothing complements festive Christmas tree cookies better than the perfect beverage. Here are some delightful pairings:
- Warm Beverages: Sipping on hot cocoa or spiced apple cider enhances the holiday spirit, balancing the sweetness of the cookies.
- Pair with Tea or Coffee: A rich cup of coffee or herbal tea can provide a delightful contrast to the sugary treat.
- Milk: The classic partner to cookies, a glass of cold milk never fails to please, especially for those nostalgic moments.
Incorporating these serving suggestions will not only make your festive Christmas tree cookies tastier but also create memorable moments during your celebrations. Happy baking!
Time Breakdown for Festive Christmas Tree Cookies
Creating your own festive Christmas tree cookies can turn into a delightful holiday tradition. Understanding the time commitment involved allows for a joyous baking experience. Here’s how to neatly break down the time you’ll need to whip up these charming cookies.
Preparation Time
Set aside about 20 minutes for prep. This includes gathering your ingredients, mixing the dough, and rolling it out into tree shapes. It’s a great opportunity to involve family or friends for a fun, collaborative experience!
Baking Time
The baking process will take around 10-12 minutes. Keep a close eye on your cookies; they’re ready when the edges turn golden brown.
Cooling Time
After baking, give your festive Christmas tree cookies a proper cooling period of 15 minutes on the baking sheet, followed by another 10-15 minutes on a wire rack. This step is crucial for achieving the perfect texture and makes decorating easier!
With this timeline, you’ll find that prepping and baking these cookies can be just as enjoyable as sharing them with loved ones!
Nutritional Facts for Festive Christmas Tree Cookies
When the holiday season rolls around, Festive Christmas Tree Cookies create more than just a delicious treat—they also provide some enlightening nutritional insights.
Calories
Each cookie packs a delightful punch with around 120 calories, making them a fun indulgence during your holiday festivities. Enjoying them in moderation will keep you feeling merry!
Sugar
These sweet delights contain approximately 8 grams of sugar per cookie. While they are on the sweeter side, they’re perfect for satisfying those holiday cravings without overdoing it.
Serving Size
A typical serving size is one cookie, but who can resist having just one? If you find yourself reaching for more, just remember to balance it with extra holiday cheer and some physical activity!
By being mindful of these nutritional facts, you can truly savor the excitement of baking and sharing these Festive Christmas Tree Cookies with friends and family during the holidays.
FAQs about Festive Christmas Tree Cookies
When the holidays roll around, festive Christmas tree cookies become a delightful centerpiece for gatherings and celebrations. These charming cookies don’t just look good; they also invite creativity and cheer into our kitchens. If you’re curious about how to make the most of these treats, you’ve come to the right place! Here are some frequently asked questions to help you bake the perfect batch.
Can I use different extracts?
Absolutely! While vanilla extract is a classic choice that enhances the sweetness of your festive Christmas tree cookies, feel free to experiment with flavors like almond or peppermint for a unique twist. Just keep in mind that some extracts can be stronger than others, so adjust the quantity according to your preference. A little almond extract can go a long way!
How do I make the icing?
Creating the icing is simple and fun! For a basic royal icing, you’ll need powdered sugar, egg whites or meringue powder, and a splash of water or lemon juice. Mix the powdered sugar and egg whites until the consistency is thick but spreadable. You can divide it into different bowls and add food coloring for a vibrant touch. For detailed designs, consider using piping bags to achieve the perfect look on your cookies.
How long will these cookies last?
If stored properly in an airtight container, your festive Christmas tree cookies can last for about a week at room temperature. For longer-lasting enjoyment, consider freezing them. Make sure to layer them with parchment paper to prevent sticking, and you’re good to go for the season’s celebrations!
With these tips, you’re all set to bake and share joy with your festive Christmas tree cookies. Happy baking!
Conclusion on Festive Christmas Tree Cookies
As the holiday season approaches, there’s nothing quite like baking festive Christmas tree cookies to bring joy and warmth into your home. These delightful cookies not only look beautiful but also offer a wonderful way to engage friends and family in the kitchen.
When you whip up a batch, consider personalizing them with unique decorations—perhaps a sprinkle of edible glitter or thoughtful messages. Sharing these cookies can foster connections and create lasting memories. So dive into this easy recipe, and spread some holiday cheer with your very own festive creations! Enjoy every bite and the warmth they bring to your celebrations!
Print
Festive Christmas Tree Cookies
- Total Time: 1 hour
- Yield: 24 cookies 1x
Description
Delicious and festive Christmas tree-shaped cookies perfect for the holiday season.
Ingredients
Scale
- 2 3/4 cups all-purpose flour
- 1 teaspoon baking soda
- 1/2 teaspoon baking powder
- 1 cup unsalted butter, softened
- 1 1/2 cups white sugar
- 1 large egg
- 2 teaspoons vanilla extract
- 1/2 teaspoon almond extract
- Red food coloring
- White royal icing
- Assorted colorful sprinkles
- Edible glitter
Instructions
- Preheat Oven: Preheat your oven to 350°F (175°C). Line a baking sheet with parchment paper.
- Prepare Dry Ingredients: In a medium bowl, whisk together the flour, baking soda, and baking powder. Set aside.
- Mix Wet Ingredients: In a large bowl, cream the butter and sugar together until light and fluffy. Beat in the egg, vanilla extract, and almond extract.
- Combine Ingredients: Gradually blend in the dry ingredients until the dough is just combined.
- Color the Dough: Divide the dough in half and add a few drops of red food coloring to one portion, kneading until the color is uniform.
- Roll Out Dough: Roll out the red dough to 1/4-inch thickness on a floured surface. Use a tree-shaped cookie cutter to cut out shapes.
- Bake Cookies: Place the cut-out cookies on the prepared baking sheet. Bake for 8-10 minutes or until the edges are slightly golden. Cool on wire racks.
- Decorate: Once cooled, use the white royal icing to outline and flood the cookies. Add edible glitter and sprinkles to decorate.
Notes
- Ensure butter is fully softened for even mixing.
- Cool the cookies completely before applying icing to prevent melting.
- Store in an airtight container to maintain freshness.
- Experiment with different colored sprinkles for added festivity.
- Prep Time: 30 minutes
- Cook Time: 10 minutes
- Category: Dessert
- Method: Baking
- Cuisine: American
Nutrition
- Serving Size: 1 cookie